


How to Remove Carpet Adhesive From Concrete

Old carpet can come up in an afternoon. The adhesive underneath is often where a flooring renovation slows down. Knowing how to remove carpet adhesive properly protects the concrete slab and gives your new floor the clean, stable base it needs. Whether you are planning hybrid, laminate or engineered timber, the goal is not necessarily to make concrete look brand new. It is to create a sound, flat and dry surface that is ready for the flooring system you have chosen.
Start by identifying the adhesive and the subfloor
Carpet adhesive can range from a thin, dry yellow or tan residue to a thick, rubbery layer that clings to the slab. Some older installations used black, tar-like adhesive, commonly called cutback adhesive. This needs more caution than ordinary carpet glue.
Before scraping, assess whether the concrete is sound. Look for cracks, moisture staining, soft or flaky areas, and old levelling compounds. Adhesive removal can expose issues that were hidden beneath the carpet, and dealing with them now avoids problems after your new floor is installed.
If the property is older and you encounter black adhesive, unknown backing material or old vinyl beneath the carpet, do not sand, grind or disturb it aggressively. Some older building materials can contain asbestos. A licensed assessor can advise on testing and safe removal before any further work begins. This is a small pause that can prevent a serious health risk and an expensive clean-up.
Tools for removing carpet adhesive
The best method depends on the amount of adhesive, its condition and the finish you plan to install. For light residue, hand tools may be enough. Larger areas usually need mechanical preparation.
For most jobs, it helps to have:
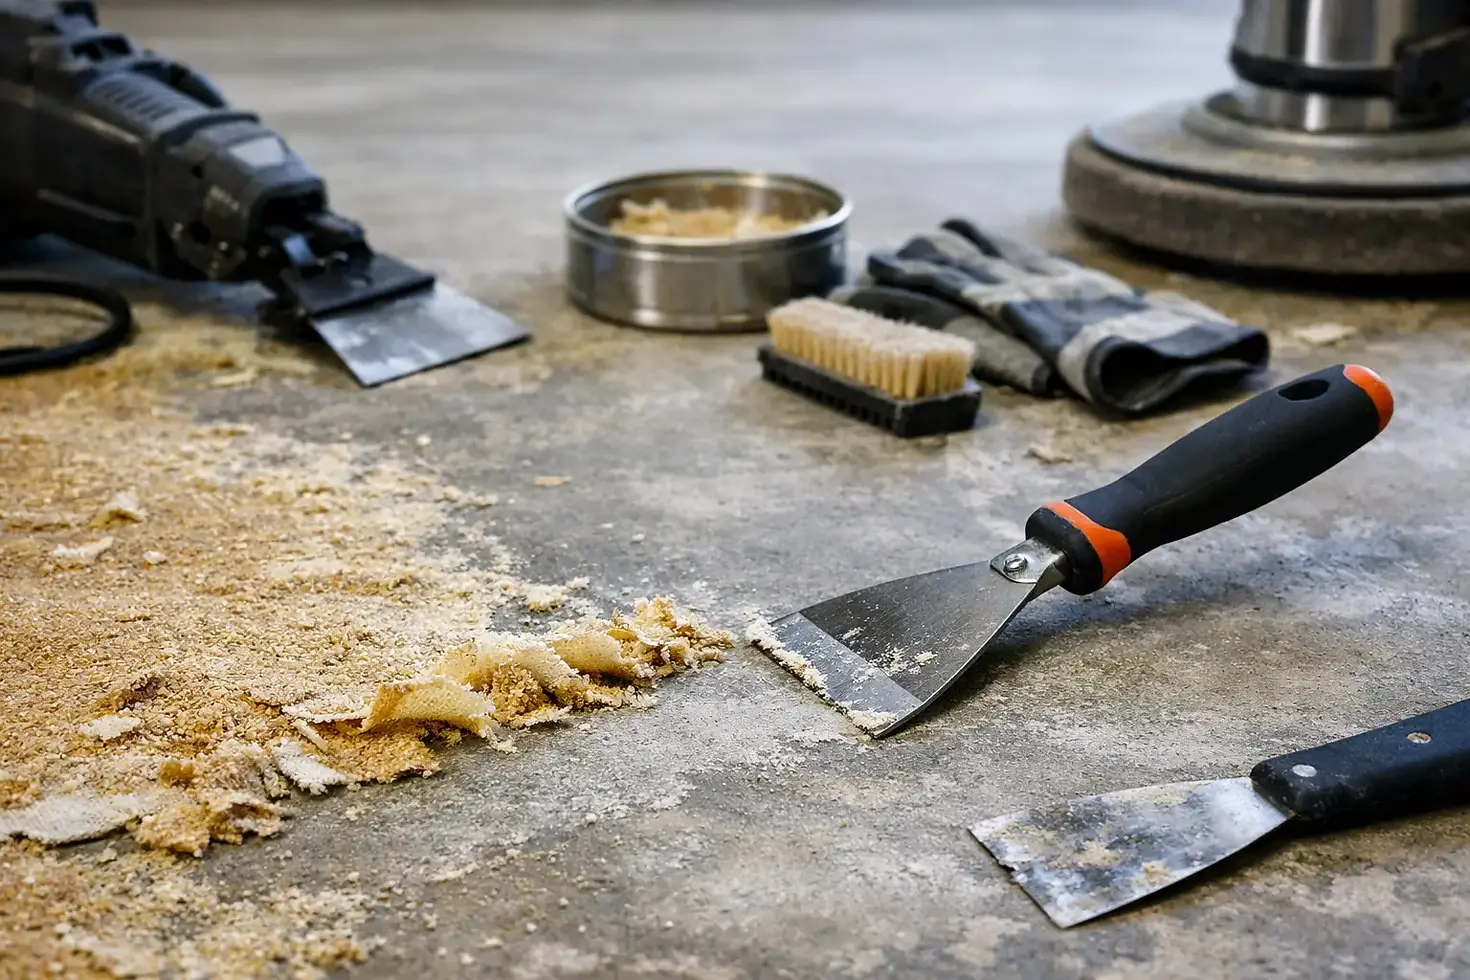
A heavy-duty floor scraper with replaceable blades
A long-handled razor scraper for standing work
A hammer and wide bolster chisel for stubborn patches
A shop vacuum with a suitable fine-dust filter
Protective gloves, safety glasses, long sleeves and a P2 dust mask
Keep spare scraper blades nearby. A sharp blade removes adhesive more cleanly and is less likely to gouge the slab than one that is worn or bent.
Remove loose adhesive first
Start dry. Use a floor scraper at a low angle and work in manageable sections, pushing away from your body. This is usually the cleanest and most cost-effective approach for brittle adhesive, particularly in rooms where carpet underlay has already been lifted.
Vacuum regularly as you go. Dust and loose adhesive make it difficult to see whether you are removing glue or damaging the concrete. They can also interfere with later levelling products and adhesives.
Do not chase every faint stain at this stage. Focus on removing raised ridges, blobs and any loose material. A thin, firmly bonded discolouration may be acceptable, depending on the floor covering and installation method.
How to remove carpet adhesive that will not scrape off
When scraping alone is not working, choose the next step carefully. More force is not always better. Deep gouges, excessive moisture and chemical residue can create more preparation work than the original glue.
Use heat sparingly on small, stubborn areas
A heat gun can soften small patches of rubbery adhesive, making them easier to lift with a scraper. Keep the heat gun moving and work with good ventilation. Avoid overheating the adhesive, particularly if its age or composition is uncertain.
This method suits a few stubborn areas around doorways, edges and tack-strip lines. It is slow for an entire room, and it should not be used on black or unidentified adhesive.
Consider an adhesive remover, but read the flooring requirements
Commercial adhesive removers can help soften water-based carpet glue. Apply a small amount to a test area first, allow it to work as directed, then scrape and wipe up the softened material.
The trade-off is that chemical removers can leave an oily or soapy film on concrete. That residue may compromise floor levelling compounds, direct-stick timber adhesives and some moisture-control systems. If a remover is used, the slab must be cleaned thoroughly and allowed to dry fully. Always check the requirements of the product being installed over it.
Avoid using petrol, thinners or other highly flammable solvents. They create strong fumes, are difficult to manage indoors and can leave contaminants in the concrete. They are not a reliable preparation method for a new floor.
Use mechanical grinding for large areas or heavy build-up
For extensive adhesive residue, professional concrete grinding is usually the most effective option. A floor grinder fitted with appropriate diamond tooling removes high spots and remaining adhesive while helping to improve the flatness of the slab.
Grinding is a skilled process, not simply a matter of hiring a machine for the weekend. The wrong tooling can smear adhesive across the concrete, while aggressive grinding can leave swirl marks, low spots or exposed aggregate. It also produces fine silica dust unless the equipment has effective dust extraction.
For renovation projects across South Australia, professional grinding and subfloor preparation can be particularly worthwhile when the existing slab is uneven or the new flooring has tight flatness requirements. It saves time later and gives the finished floor a better chance of sitting and performing as intended.
Clean the concrete without soaking it
Once the bulk of the adhesive has been removed, vacuum the floor carefully, including corners and along walls. Then inspect the slab from different angles in natural light. Raised adhesive catches the light and is easier to spot than it is when viewed directly from above.
A lightly damp mop can pick up fine dust after vacuuming, but do not flood the slab. Concrete can retain moisture, and moisture matters when installing engineered timber, hybrid flooring or levelling products. Allow the surface to dry completely before moving to the next stage.
If you have used a chemical adhesive remover, follow its cleaning instructions precisely. A clean-looking slab is not always free of residue. This is one of the reasons flooring professionals often prefer mechanical removal where practical.
Check flatness before choosing the next step
Adhesive removal and floor levelling are related, but they are not the same job. Once the concrete is exposed, place a long straightedge across the floor in several directions. Mark dips, humps and cracks as you find them.
Floating floors such as laminate and hybrid flooring need a reasonably flat base to prevent movement, noisy spots and excessive stress on joins. Engineered timber may be floated or glued down, and the preparation standard changes with the installation method and product specifications. A floor can feel fairly level underfoot yet still have local highs and lows that affect a new floor.
Small imperfections may be addressed with a suitable patching or smoothing compound. More significant unevenness may need grinding, levelling compound or both. The right solution depends on the slab, the room and the flooring selected. Trying to hide major low spots with extra underlay is rarely a good fix, as underlay is designed for minor cushioning and acoustic performance, not structural levelling.
Check moisture as part of preparation
Removing carpet can reveal moisture marks, musty odours or white mineral deposits on concrete. These signs do not automatically mean the slab cannot be used, but they do warrant investigation before new flooring goes down.
A proper moisture test helps determine whether a moisture barrier or other treatment is needed. This step is especially valuable in ground-floor rooms, older homes and areas that have had water leaks. Installing a premium floor over an untested damp slab can lead to adhesive failure, cupping, movement or mould concerns later.
Common mistakes to avoid when removing carpet glue
The most common mistake is rushing straight from carpet removal to flooring installation. Adhesive can hide uneven concrete, and loose residue can prevent underlay, levelling compounds or glue from bonding as they should.
Avoid using excessive water to wash the slab, especially if installation is scheduled soon. Also avoid sanding or grinding unidentified old adhesive. The dust risk is not worth taking lightly.
Another mistake is treating every floor the same. A modest amount of firmly bonded residue may be manageable beneath some floating floor systems once the slab is flat and clean. A direct-stick engineered timber installation, however, generally needs a much more exacting surface. Product instructions and the installer’s preparation requirements should guide the final standard.
When it makes sense to call a flooring professional
DIY adhesive removal can suit a small room with ordinary, dry glue and a sound concrete slab. It becomes less practical when the adhesive is thick, the area is large, the floor is uneven, or there are signs of moisture or possible hazardous materials.
A professional can assess the full subfloor rather than just the glue. At Thinking Flooring, preparation is considered part of the finished result, from concrete grinding and levelling through to selecting an installation method suited to the home. That attention below the surface helps the new floor look refined and remain dependable in everyday family life.
Taking the time to remove carpet adhesive properly is a practical investment in the room that comes next. A clean, flat and suitably prepared slab gives your chosen flooring the stable foundation it deserves.


Comments